Custom Fields
Contents
Introduction
Custom Fields will have all the custom fields you have created, these will apply to any created or uploaded contacts you have.
You will be able to edit or delete any custom fields from the overview page.
Please watch the video below to learn more about custom fields, or you can review the written guide just below that.
Video
Why use a custom field?
A custom field can be used in various ways. For instance, a veterinarian may want to record the names of each pet belonging to their registered contacts.
This information can then be utilized to personalize messages when sending vaccination reminders. For example, they might say: “Hi [[name]], just a reminder that [[pet name]] is due for their vaccination in June. Give us a call at 0777777777 or visit our website to book an appointment.”
Page Overview
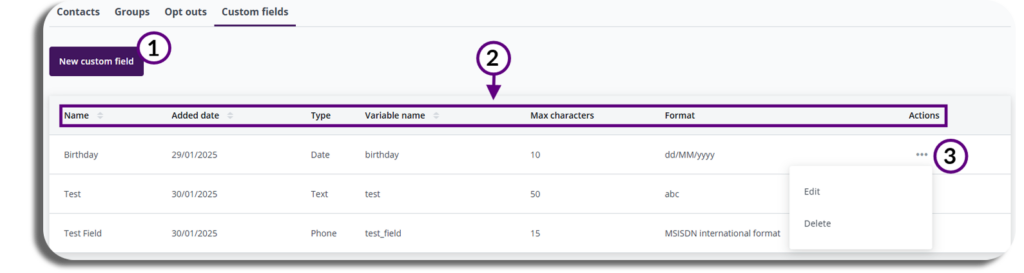
- New Custom Field: Click on the button to create a custom field.
- Fields: shows the fields that make up your custom field.
- Actions: Selecting the three dots will give you the option to edit the existing custom field or delete it.
New Custom Field
To create a Custom field, select the new custom field button.
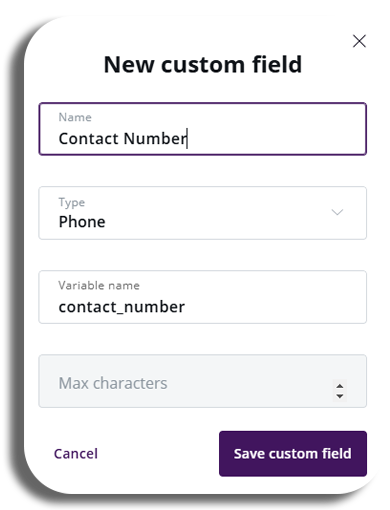
In the pop-up, you can enter the name of your custom field, select its type, and specify the variable name, which will serve as the identifier when you choose it in a message. Additionally, you can set the character length; some types will allow you to modify this.
- Name – What information you are capturing
- Type – Some Types will have the option of a character limit, while others like the date will not as they will restrict the data inputted into the appropriate format.
- Variable name – The unique identifier when adding to messages
- Max Characters – How many characters are permitted.
When editing a custom field, the same box will pop up.
Once you are happy with your custom field press save the custom field button to complete it.