Sub Account Management
Contents
- Introduction
- Video
- Creating sub-accounts
- Setting A Monthly Limit For Sub-Accounts
- Sharing sender IDs with sub accounts
- Sharing message settings with sub accounts
- Sharing message templates with sub-accounts
- Sharing your contact list with sub-accounts
Introduction
Sub-account management provides admin users with the capability to create sub-accounts for both post-pay and pre-pay account types. This functionality is particularly useful for organisations that need to manage multiple entities efficiently. For instance, sub-accounts can be established for:
- Individual teams or departments within the organisation, such as head office functions.
- Specific sites within the organisation, including retail branches, warehouses, and factories.
Please be aware: Admin users retain control over each sub-account, enabling them to assign access to certain features and set the necessary permissions and settings. This arrangement allows each sub-account to operate independently while ensuring a consistent standard and centralised oversight across the organisation.
Once created, for each of your sub-accounts, you can:
- Set a monthly spending limit
- Share your sender ID(s)
- Share your message settings
- Share your message templates
- Share your contact list
Video
Creating sub-accounts
Step1: Create & name the sub account
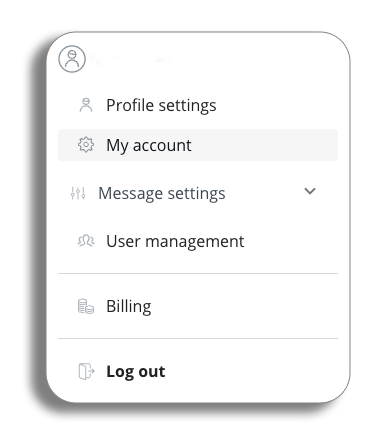
- To access your account, go to the profile drop-down on your homepage and select My Account.
- In the tabs, click on “Sub Account Management.”
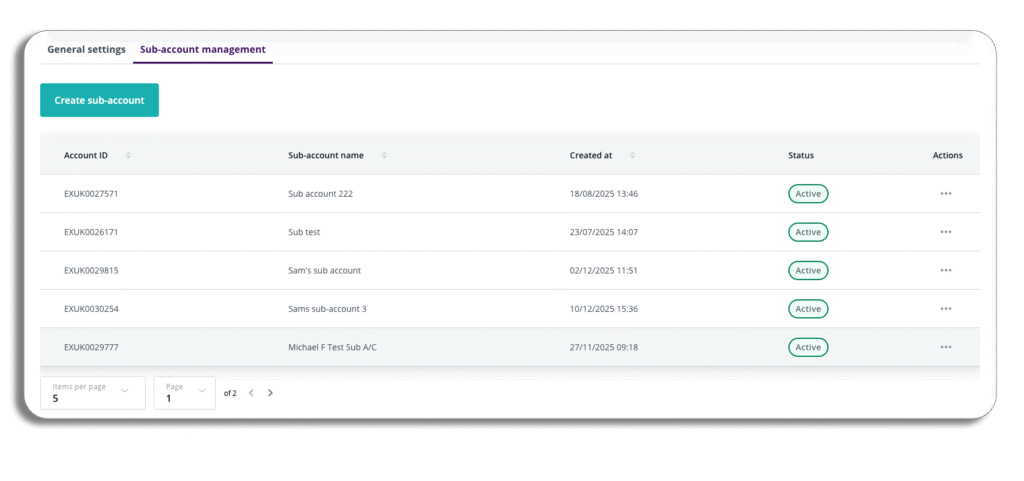
- In the Sub Account Management tab, you will see all the sub accounts you have created or can access. You can view each account’s ID, name, creation date, and status.
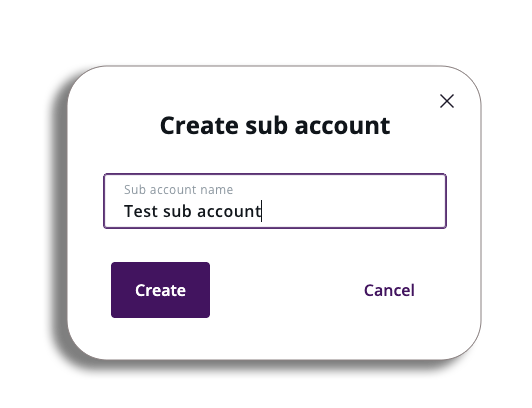
- To create a new sub account, click the “Create Sub Account” button, enter the sub account name and press “Create.”
- This will give you a new sub-account ID.
Step 2: Add users to a sub-account
- Now that you have set up your sub-account, let’s add some users.
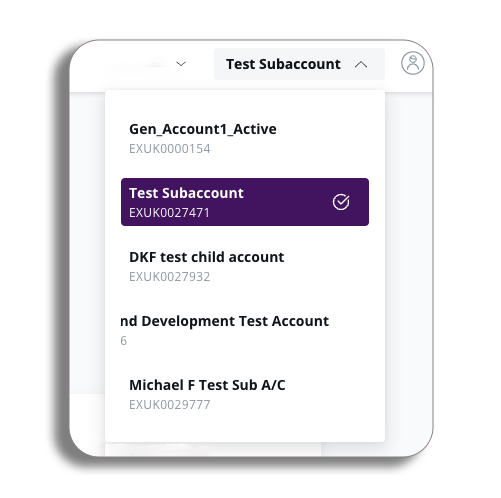
- From the homepage, click on the accounts drop-down menu (next to the top-up balance button) and select the sub-account you created. You will now be in your sub-account.
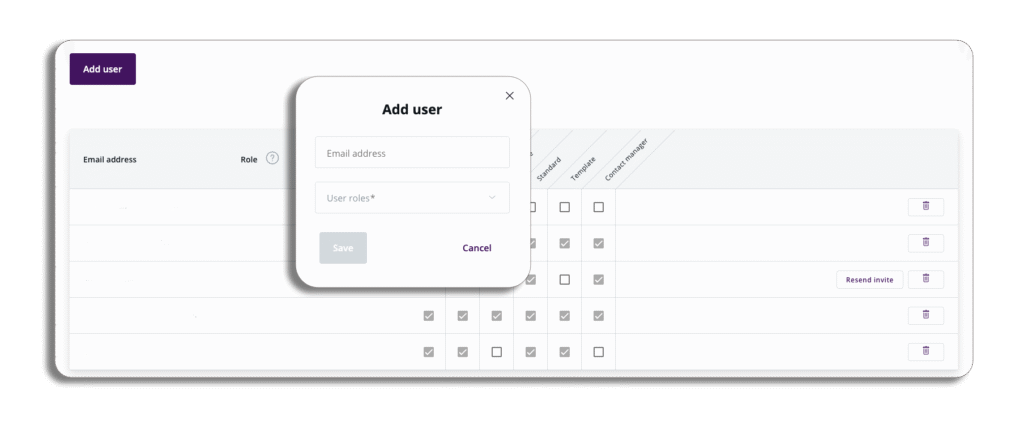
- Next, navigate to the user management section in the profile drop-down menu and click on the ‘Add User’ button. Enter the user’s email address and specify the user roles that you (as the parent account) would like them to have.
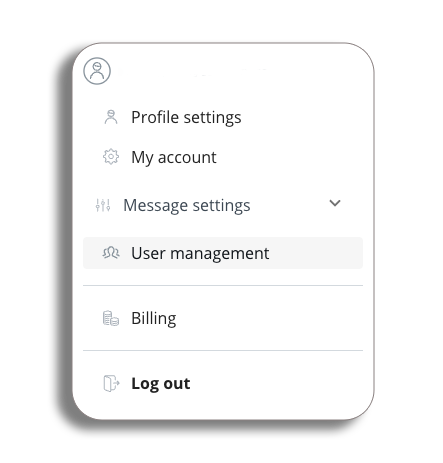
- Next, navigate to the user management section in the profile drop-down menu and click on the ‘Add User’ button. Enter the user’s email address and specify the user roles that you (as the parent account) would like them to have.
Step 3: User details
To update the sub-account user details, remain in the sub-account and go to ‘My account’ and enter the sub-account information in General settings.
Sub sub accounts
- A sub-account user can create one or more sub-accounts under their own sub-account.
- The same setup processes mentioned above will apply to a sub-account and its own sub-accounts.
Default account type
- The default for all sub-accounts is prepay. If you are creating a sub-account for a post-pay account, the type created will still be prepay.
- An admin user has to contact our sales or customer success team to change the pre-pay sub-account to a post-pay sub-account.
Setting A Monthly Limit For Sub-Accounts
Spending Limits
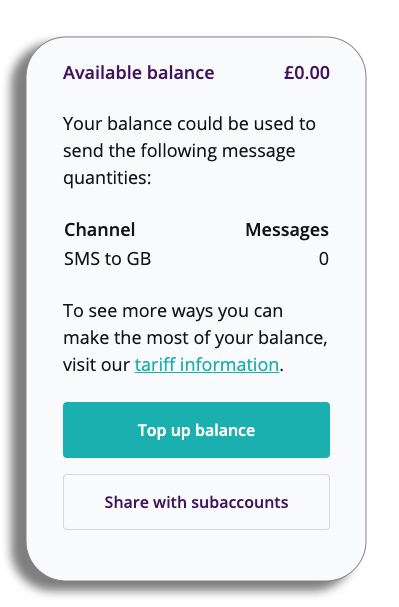
- Both pre-pay and post-pay parent admin accounts can set a monthly spending limit for a sub-account.
- These limits do not involve:
- For post-pay parent accounts, a part of the parent’s credit limit cannot be allocated.
- For pre-pay parent accounts: real cash; you cannot assign a sending balance.
Spending Limit Aggregation
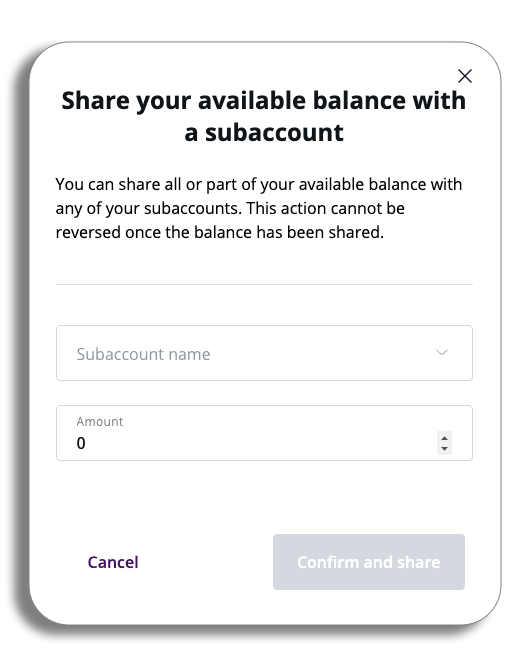
- Limits for sub-accounts do not combine to stay within the total balance of the parent account (for pre-pay) or the credit limit (for post-pay).
- This means a parent account can set limits that are higher than its current balance or credit limit.
- It is the parent’s responsibility to ensure there are enough funds or credit available in the parent account to cover all the limits set for its sub-accounts.
Example
- A parent account has a balance of €1,000 that can be spent.
- The parent sets a monthly limit of €250 for each of the 4 sub-accounts.
- The balance shown in the account stays at €1,000.
- If the parent account spends some of the €1,000 balance, it will not have enough funds to allow all 4 sub-accounts to send €250 each.
- If a sub-account tries to send a message but the parent account does not have enough budget, the message will not go through. For example:
- Parent account balance = €150
- Cost to send from the sub-account = €175
- In this case, the send will fail.
Monthly Spending Limit Replenishment
- A sub account’s monthly spending limit will reset each month, based on the amount set by the parent. For example:
- The sub account’s monthly spending limit is €250.
- In the first month, the sub account spends €200.
- At the end of the first month, the remaining balance is €50.
- At the start of the second month, the sub account’s monthly spending limit goes back to €250.
Monthly Spending Limit Increases
- If a sub account reaches its limit before the end of the month, the parent can raise its limit. This allows the sub account to keep sending.
Sharing sender IDs with sub accounts
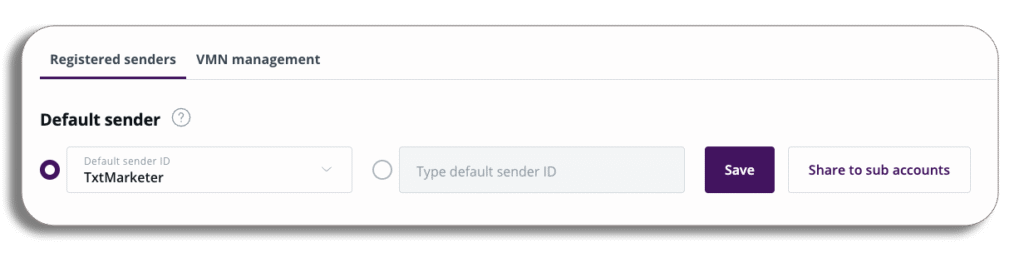
- You can share your Sender IDs with your sub-accounts.
- On the registered sender ID page, find the default sender ID. You will see a button to share it with sub-accounts. After selecting your default sender ID from the drop-down menu and saving it, you can click “Share to sub-accounts” to share that sender ID with your sub-accounts.
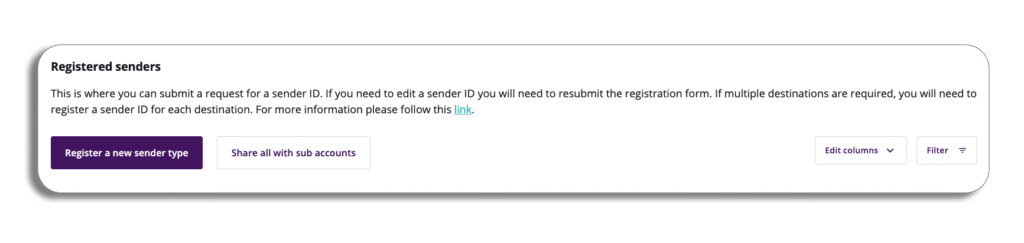
- You can also choose to share all your registered sender IDs with all your sub-accounts.
- Please note: You will receive a warning before proceeding with this action. You must check the agreement box to continue.
Sharing message settings with sub accounts
- Your parent account can share settings with your sub accounts. To access this, go to the message settings drop-down in your profile, select messaging, then the general message settings tab, scroll to the bottom and select share with sub accounts.
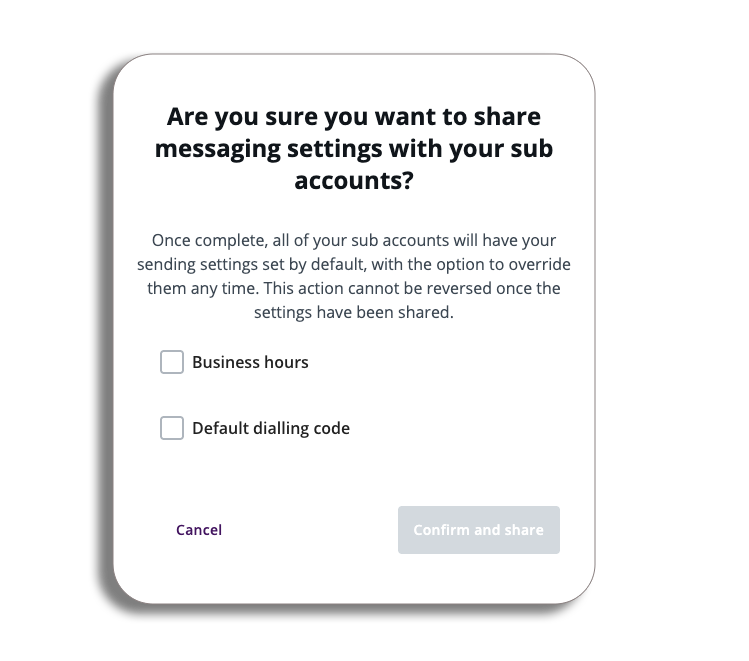
- Your parent account can share the following settings for all sub-accounts:
- Sending hours
- Default dialling code
- Please be aware: Settings shared by the parent will be automatically shared with all sub-accounts and cannot be shared with just one or selected sub-accounts.
Sharing message templates with sub-accounts
- Your parent account can share a message template for any channel with a selected sub-account.
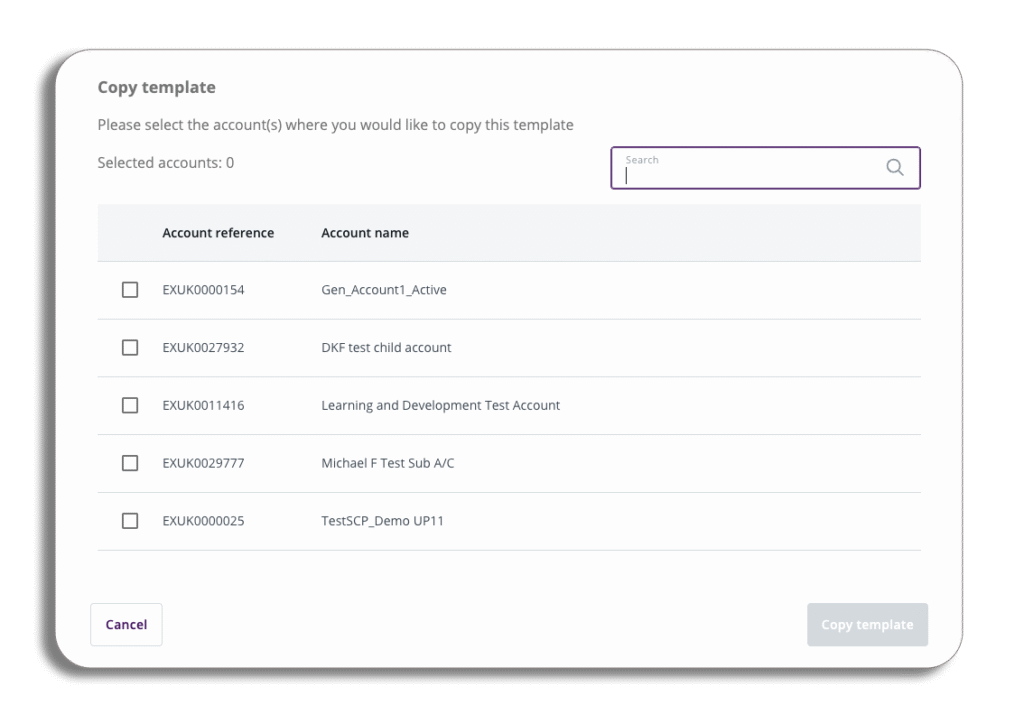
- To access this, go to the message templates tab, select the three dots on a template, select copy to and then a different account.
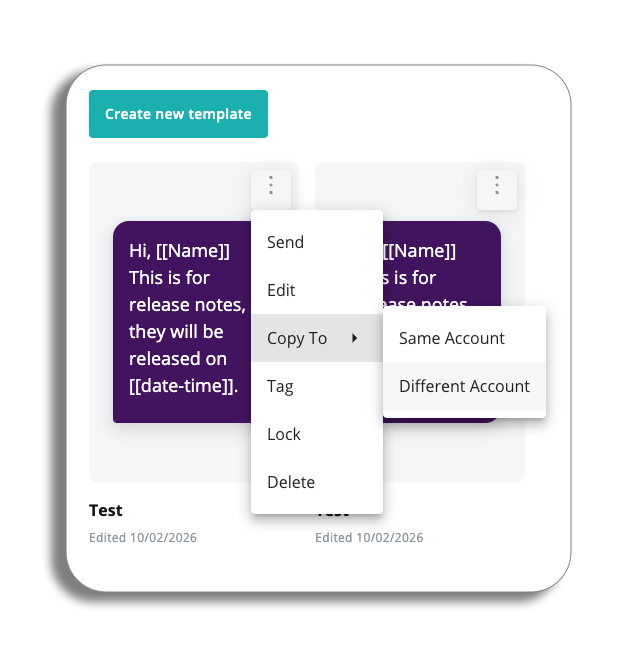
- In the pop-up, select the accounts you want to share the template with.
- Please be aware: multiple accounts can be selected, but each template has to be shared individually
- Once you have shared your template, it will be accessible on the Sub account.
Please be aware: shared templates are always “copies” of the original template. The following rules will apply.
- A sub-account can modify a shared template without altering the original template on the parent account.
- The parent account can still edit the original template, and it will not affect the shared template in a sub-account.
- Parent accounts cannot update a template and have it applied to shared templates.
Sharing your contact list with sub-accounts
A parent account can share the whole contact list with all of its sub-accounts. To set this up, go to contacts and groups, select the settings tab and activate Sub-account sharing. The contact list will be automatically shared with all sub-accounts.
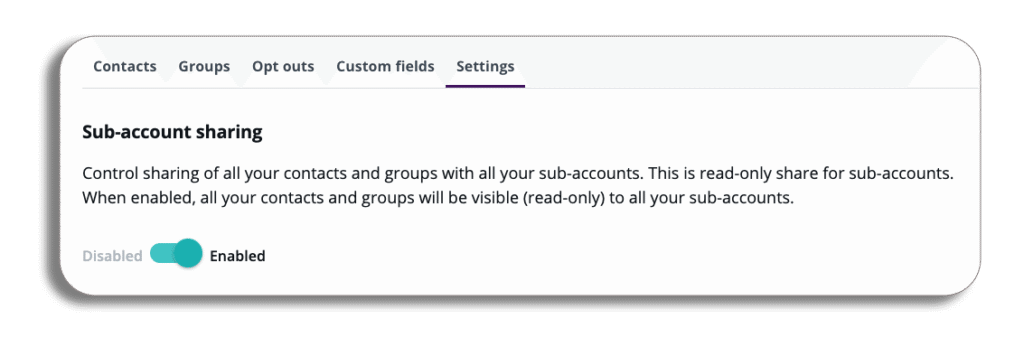
Please be aware: The contact list cannot be shared with just one or selected sub-accounts.
Updating the contact list
- Sub-accounts do not have the ability to edit the contact list. It is not possible to share editing rights for this feature.
- When a parent updates the shared contact list, those changes are automatically reflected across all sub-accounts.
- It’s important to note that individual groups and contacts cannot be shared separately; only the entire contact list and all associated groups can be shared.